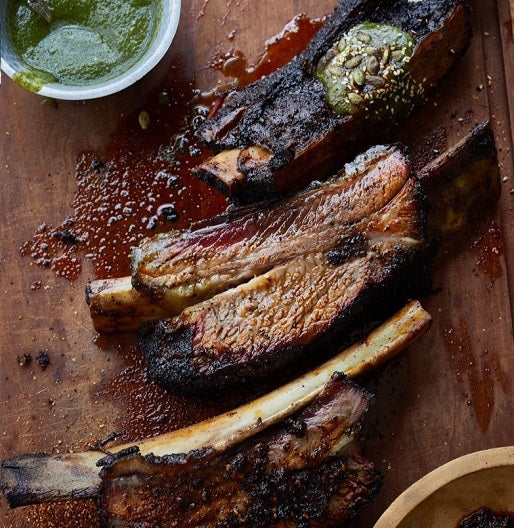
Forget the kitchen. Real cooking happens outdoors, surrounded by friends and family. It's about fire, flavor, and the kind of conversation that only comes from shared effort and good food. The Keveri H1 isn't just another grill; it's a Multipurpose Charcoal Oven that lets you grill, smoke, roast, or bake, taking your backyard cookouts to the next level. Simple design, serious power, and built to fit seamlessly into your space. Let's dig in.
The Space
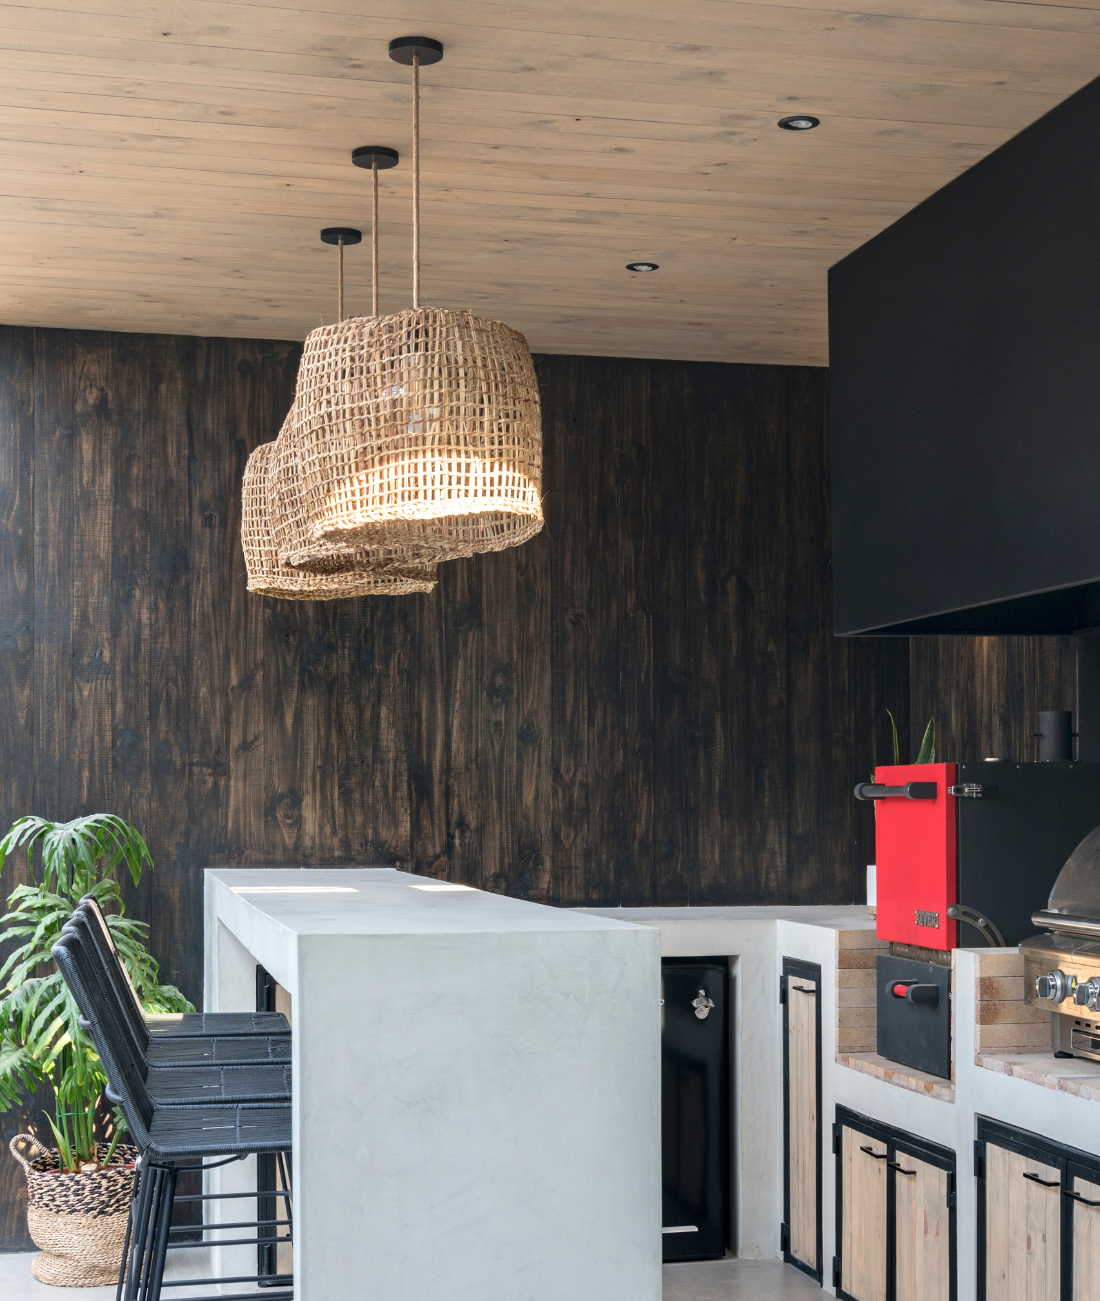
You need a space of at least 30.7 inches wide and 23.6 inches deep. The 30.7-inch width is critical, as the H1 requires 5.1 inches of clearance on each side. This ensures proper door operation and adequate ventilation.
The ideal countertop height is 23.6 inches or less. This height provides comfortable access to the cooking grates and a clear view of the thermometer.
You'll need a non-flammable surface, capable of supporting at least 220 lbs. Wood or other combustible materials are strictly off-limits. The Keveri H1 sits securely on any suitable countertop; no permanent mounting is required.
Ventilation
All charcoal grills emit gases, so adequate ventilation is essential. The Keveri H1 is designed for outdoor use.
If your outdoor kitchen is enclosed or lacks of airflow, it’s important to have a professional extraction hood to remove the smoke that comes from both the chimney and the door of the H1.
While extending the chimney pipe can help, it's not a substitute for proper extraction in confined spaces. Professional extraction is required for the smoke and gases that come from the door opening.
*Usage tip for chimney extension: Extending the chimney increases airflow, which can raise cooking temperatures. To compensate, adjust your bottom vent and chimney. Start by reducing the airflow setting from the manual’s recommendation. Every setup is different, so monitor the temperature and adjust as needed.
More Tips:
- Before you nestle your grill in its sweet spot, make sure it is close enough to your kitchen allowing you to be a few steps away to grab ingredients or any additional tools like a cutting board or platter for your meat.
- You’ll need to make sure the grill is placed on an even surface to support its weight and to provide safety from potential hazards. While measuring the space, consider the counter/surface you’ll be using and your comfort level while cooking.
- The beauty of the Keveri H1 is that it is fueled by charcoal. In fact, it requires less charcoal than any other grill on the market. Since you don’t have to worry about existing fuel lines, you’re able to move the grill if needed.
With its versatile grill modes and its design to optimize fire while cooking, we know you’ll be creating a 5-star experience at home. We look forward to you sharing your experiences with us. Be sure to tag #KeveriFam on Instagram so we can see your beautiful meals.
To learn more about Keveri H1, you can visit our product page and check out our MasterClass and cooking videos on YouTube.