___________________________________________
Active Fire Time: 6-7 hours Total Time: 7-8 hours
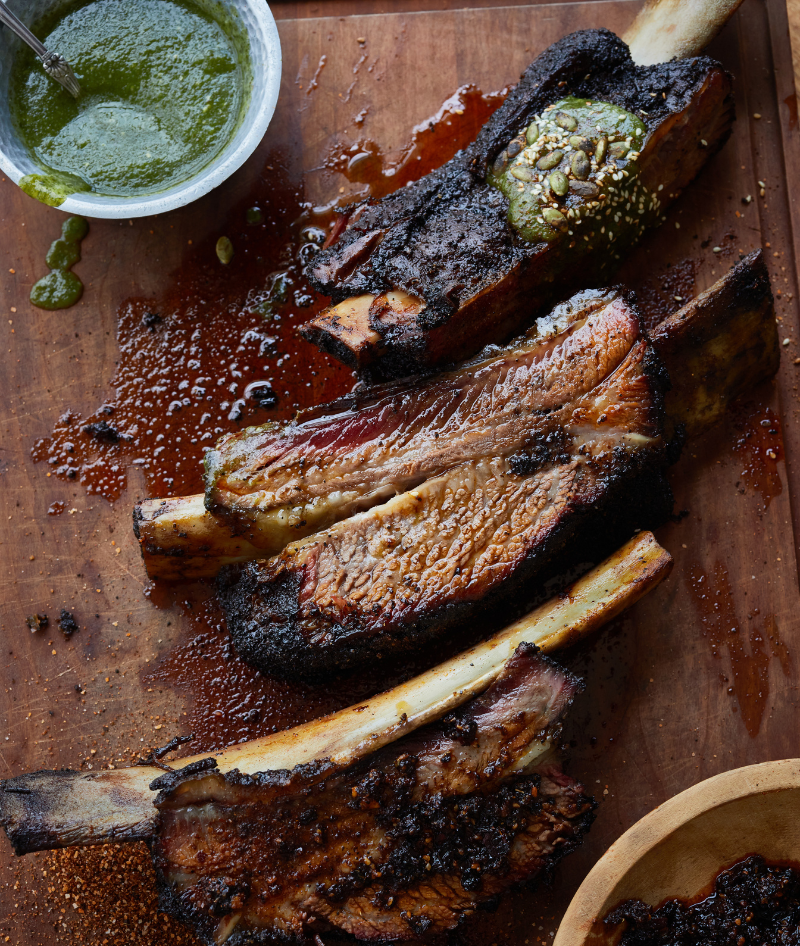
Beef ribs are about patience and simplicity. Less is more. Smoke, salt, pepper, and high-quality sourced beef ribs are all you need. The rest is up to time & fire, there’s nothing more to it. The goal is to maximize flavor by letting time do the work.
Smoking meat is a ritual. Someone rarely cooks ribs for one. A recipe like this is ideal for sharing – celebrating the flavor and texture with friends, neighbors, or family. The ritual is in the preparation, the allowing of time, and the removal of the bone as the meat becomes tender with flavor evocative of tradition and labor. It’s a luxury to have the time to cook this recipe. The Keveri H1 allows you a new experience of comfort and peace of mind as you cook this recipe. By letting the H1 do all the work, you can spend time on other things you enjoy.
INGREDIENTS:
Serves 4+
- Short Rib Plate
- Salt and Pepper as your Rub (50/50)
- Extra Virgin Olive Oil
SUPPLIES:
- 3-4lb Natural Briquettes or Lump Charcoal
- 2 Wood Chunks. Hickory or Oak recommended
- Pan with Boiling Water
- Butcher Paper
- Apple Cider Vinegar + Water (30/70) in spray bottle
- The Smoke Controller
- High Heat Gloves
- Meat Thermometer
PREPARATION
Step 1:
Set-Up
For the recipe, you need a short rib plate, a cut of beef that has the perfect amount of marble and connective tissue for long cooking techniques.
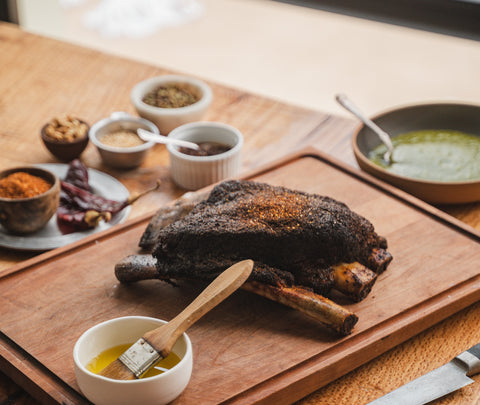
You must put salt and pepper in a 50/50 ratio using any neutral oil as a binder, we recommend Extra Virgin Olive Oil.
Step 2
Low & Slow Mode (210-220°F)
Light your Keveri H1 in the Low and Slow Mode (around 210-220°F) according to the manual instructions or the Masterclass video. We recommend using 2 chunks of your desired wood. Oak and Hickory are always a great option for beef ribs.
Place the Keveri Smoke Controller in the bottom rack position and a pan with boiling water on top of it. This allows you to deflect the heat and generate a generous amount of steam, crucial for the best results.
Step 3:
Set Timer, 4-6 hours
Place the beef ribs in the middle or top rack position and set your timer. It will take somewhere around 4-6 hours to develop the perfect bark, a black peppery, and smoky crust that resembles the best of the Texas tradition.
Useful Tip
We recommend spraying a mix of apple cider vinegar and water (30/70) every hour, this will help develop the bark and keep a moist environment inside the Keveri H1.
Step 4:
Check In & Set Timer, 1 - 2 hours
Once you have achieved the perfect char on your bark, cover your ribs with butcher paper and continue to cook until you reach an internal meat temperature of 197-200°F. We recommend using a meat thermometer for precision. To reach this temperature it can take between 1-2 hours. Remember to reset your timer for another 30 minutes to check the meat once more.
Step 5:
The Final Ritual, 1 hour
Once ready, cover the meat in butcher paper, and let it rest for another hour. Resting the meat allows it to retain the juices, improve the texture, and help lower the internal temperature to an enjoyable eating temperature.
Cook's Notes:
Take your ribs to the next level. While you wait, craft a delicious sauce with texture. Try making a Chimichurri, Macha, or Chili Oil to serve with your Smoked Beef Ribs.
Share With Us
Post what you cook using the Keveri H1 on social and tag us @Keveri.usa #KeveriFam
_____________________________________
How to Light Up your Keveri H1 for Low & Slow Mode
More recipes
-
-
-
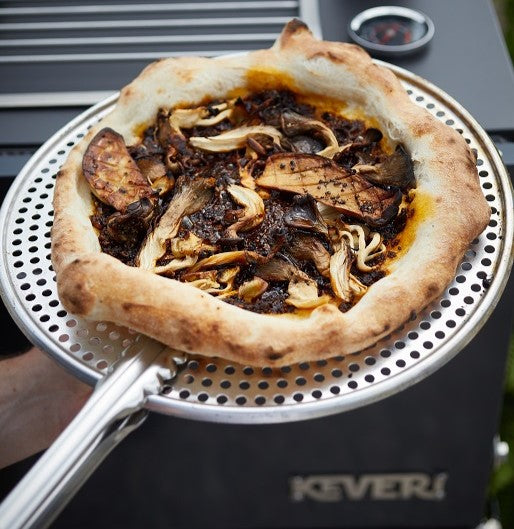
SHROOMIN' MACHA PIZZA
See Recipe >Chef Tim Byres shares a vegetarian pizza even meat lovers will enjoy.
- Choosing a selection results in a full page refresh.
- Opens in a new window.

